Once the tower was selected I started the process of nailing down the aluminum that would be on the top of the tower. Since I felt this would probably be the only tower I ever have installed, some of my key requirements were:
- Get the maximum band coverage from the antennas on the tower ( 40m thru 70 cm)
- The antennas had to have a good reliability history with a minimum of parts that might fail (traps or moving parts).
- Install long life feed-lines (hardline)
- An oversized rotor to reduce the risk of a rotor failure
- Chrome Molly mast
- 60-70′ self supporting tower
- Dual thrust bearings; so the rotor could be easily replaced without removing the antennas
- Only two feed-lines to the ham shack (switching required at the base of the tower in a weather proof enclosure)
- High quality lightening protection
- Select tower to withstand 110 mph wind without ice and a 85 mph with 1/2 inch of ice.
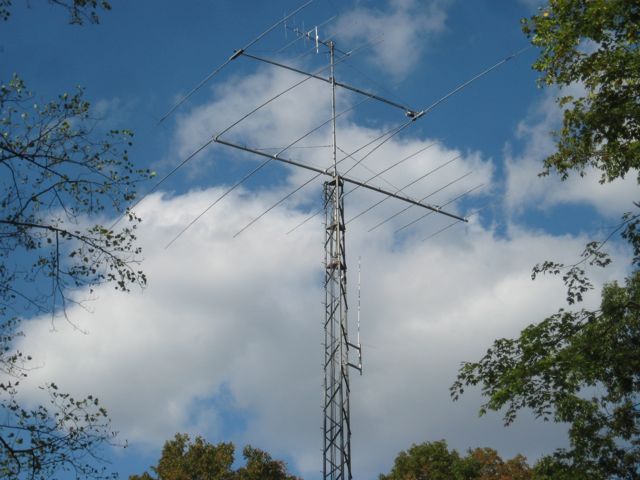
Ultimately the primary antenna I selected was an M2 10-30 LP8, 8 element log periodic, which covers 30m to 10m. For 40m I selected a Cushcraft XM-240 2 element yagi and for 6m, 2m and 70cm I selected a Cushcraft A627013S.
The rotor I selected was an M2 Orion 2800P w/o their controller. I ordered a Green Heron RT-21 rotor controller.
Once the material list was complete and had been approved by Don, I began to place orders. Some of the items had longer lead times than others. As the materials arrived I marked them as having arrived on the Excel spreadsheet. Once all of the materials had arrived it was time to construct the tower base.
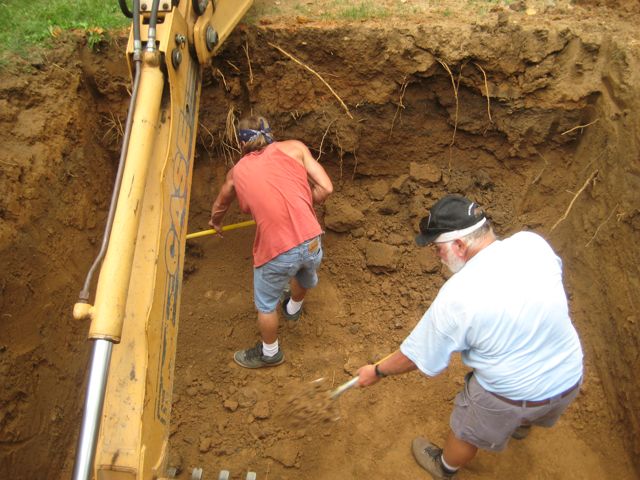
Digging the Hole
The base for the 70′ Trylon Super Titan requires a larger base. I chose a pad and pier design. The pad is 10′ by 10′ x 2.5′ with a 5′ x 5′ x 5′ pier. The base took a total of nearly 16 yards of concrete.
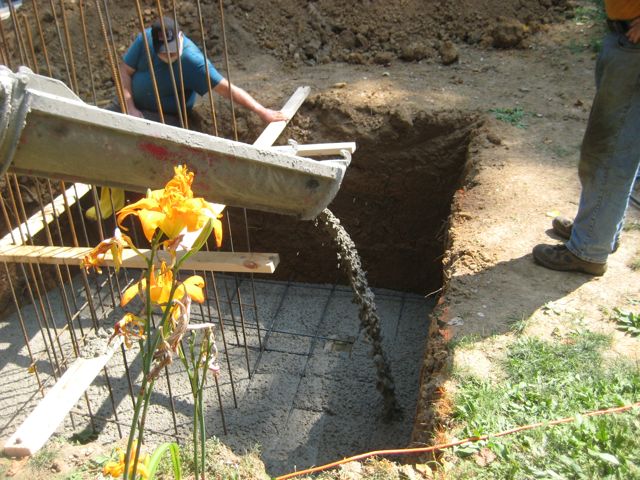
Pouring the Pad
Once the 10′ x 10′ x 7′ deep hole was completed it was time to pour the pad.
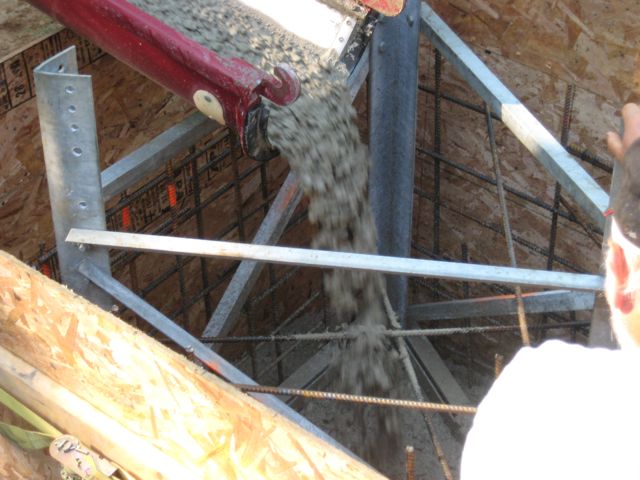
Pouring the Pad
Once the pad was pour a second pour was made for the pier.
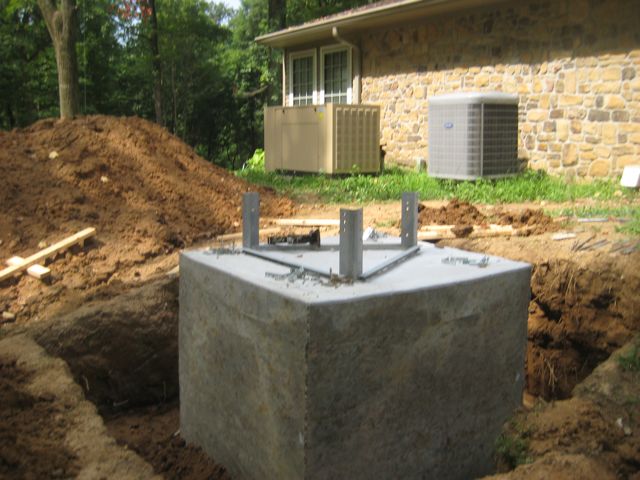
Completed Base
Once the forms were removed we get our first look at the mammoth chunk of concrete.
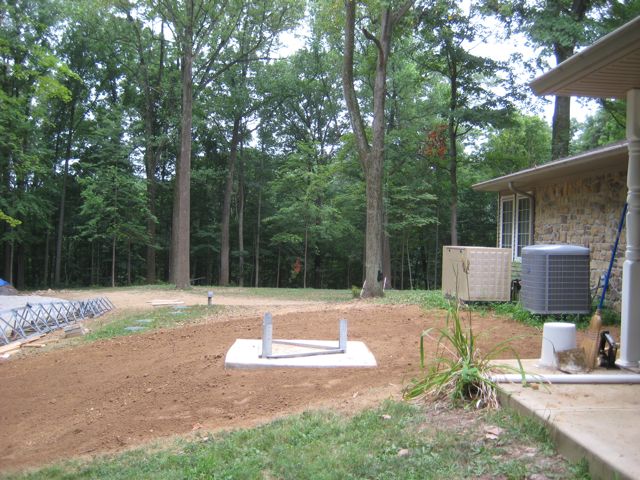
Base After Final Grade
The final step was to use a use a motorized soil compactor to pack the soil tightly against the base. This was followed by a final grade and grass seed. The tower base was sprayed several times a day to assist in the curing. The base then had to wait at least thirty days before the tower could be installed.
In the next installment well move into the antenna assembly and tower installation. Until next time,
73,
Fred